⚠ Guide updated on 24th of June 2025. Updated vbmeta flashing information and some links. I've had far too many requests for device ROM dumps so PLEASE create a backup first.
Overview
The phone

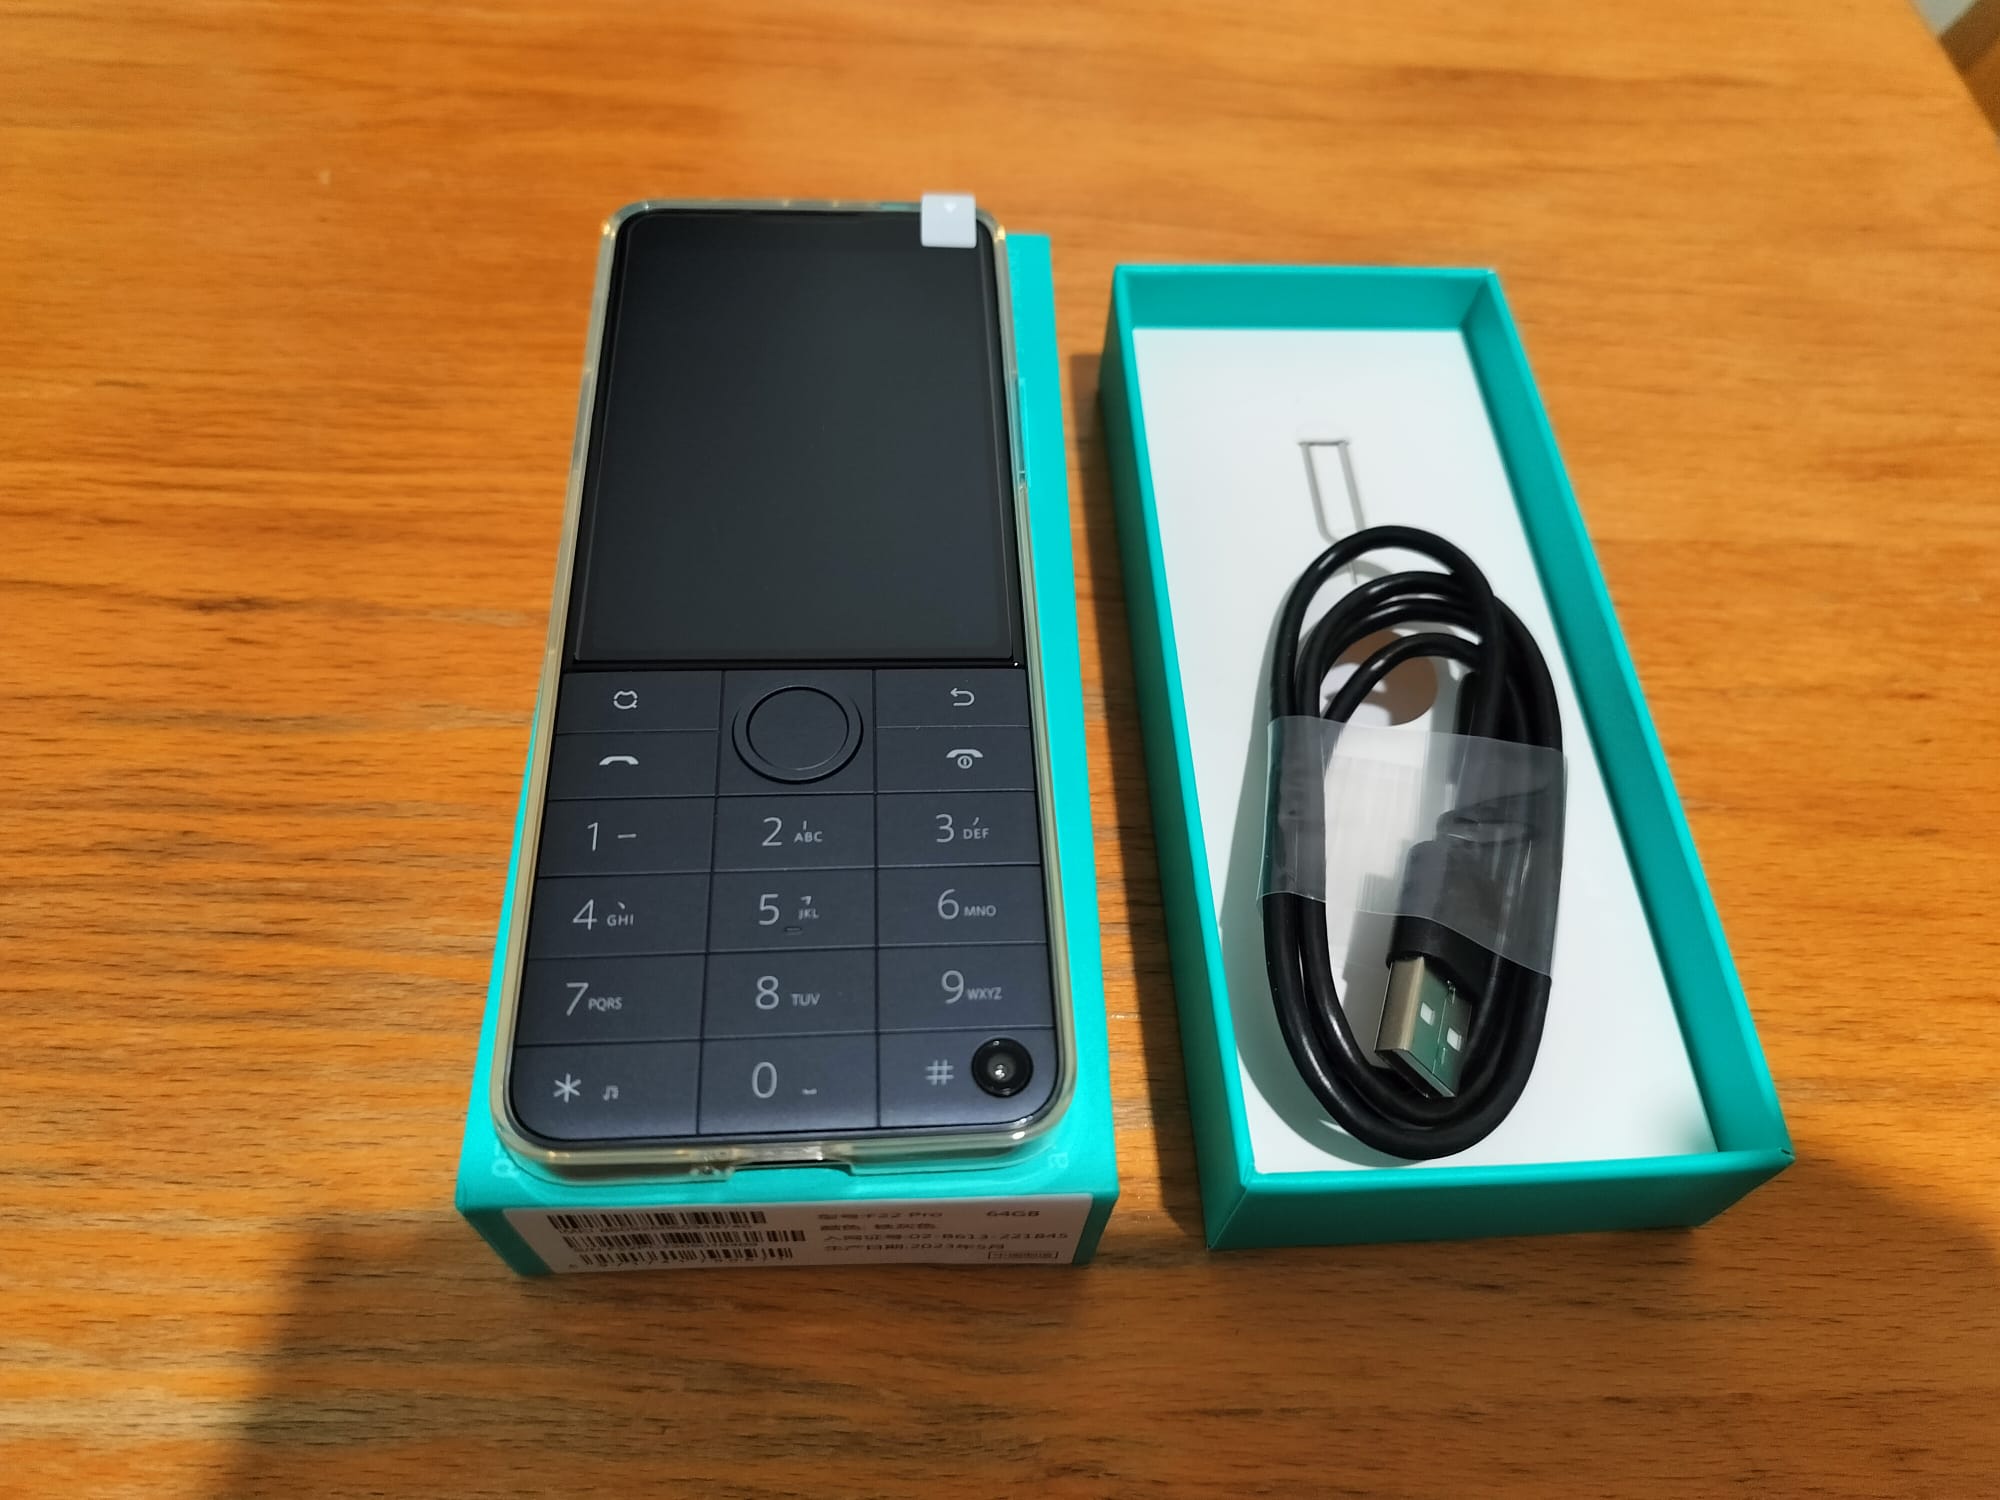
I bought the “vanilla” version of the Qin F22 Pro, meaning it didn’t come with Google Play Services. Actually to me this seemed like the safer option since there is NO official version of the phone with Google services. It was also a lot cheaper (110€). You never know what other people install on your phone. There is also an version with an AOSP based ROM, but it seems like most features of the phone are broken on it.

The Qin F22 Pro is a candybar-shaped phone with a numeric keyboard. It is powered by the MediaTek Helio G85 Processor and has 4GB of RAM. The screen is fairly small at 3.54 inches, using a resolution of 640x960 pixels. The phone runs a stripped down version of Android 12. There is a 8M camera in the rear, and a 2M camera in the front located at the button of the phone. There is no 3.5mm jack, but you can connect headphones using the USB-C port. The keys on the keypad feel pretty good to use. The phone also came with a TPU protector and a charging cable (but no charger, however).
My reasons for purchasing this phone
Personally I wanted a phone like the Qin F22 Pro so I could reduce the amount of time I use my phone every day. Most apps these days are designed around infinite scrolling or constant notifications. Because the Qin F22 Pro has quite a small screen I can imagine I won’t be using them so much. I would have bought a more dumb phone but sadly I need access to authenticators and banking apps so they are not suitable for me. Also I love listening to music via Spotify at work (and because most of my contacts use WhatsApp and WeChat, sigh..)
Also, because the appearance of the phone is very cool!
Rooting, installing microG and Debloating guide
⚠ I am not responsible for your device! You will do everything at your own risk! You have been warned!
Rooting and debloating the Qin F22 Pro is pretty straightforward. I didn’t have much difficulty in doing so, other than looking up instructions online. There aren’t many resources for the Qin F22 Pro, understandably. It’s one of the reasons why I wrote this guide.
Required tools
- adb
- MTKClient
- Magisk
- microG Installer Revived
- Play Integrity Fix
- LSPosed Framework
- FakeGApps
- Aurora Store (If you don’t use Google Play Store)
I use Linux so I haven’t tested the tools on Windows, but they should work pretty similarly. On Windows you will also need to install Python and Git. I recommend installing it via the installer on the website. On Windows you might have to prepend “python” in front of every command.
First boot and changing the language
By default, at least for me, the phone boots in Chinese. The phone will ask if you want to set it up in “Normal” mode or “Student” mode. Pick the top option! If you don’t you won’t be able to install any apps!
To change the language open Settings, press 系统 -> 语言和输入法 -> 语言 -> select English
Unlocking the bootloader
Before doing anything, we need to unlock the bootloader of the phone. I used mtkclient to achieve this.
⚠ This will erase all the data on your phone!
First, open Settings -> About Phone -> Tap on “Build Number” 7 times to unlock Developer Mode.
Go back -> System -> Enable “OEM Unlocking” and “USB debugging”.
Turn off the phone.
Run:
mtk e metadata,userdata,md_udc
mtk da seccfg unlock
mtk reset
After rebooting you need to go through the initial setup again. Once again enable Developer mode and USB debugging.
Backing up the phone
While looking up guides for this phone, I saw too many users who forgot to do the most important thing first: backups. There are many bad dumps online which at the worst can make you lose your IMEI or make your phone a brick! Be sure to create your own backups!
We can do this by using mtkclient. Turn off the phone and connect the phone to your computer with an usb cable. Create a new folder and run:
mtk rl --skip userdata backup
mtk r preloader preloader.bin --parttype=boot1
The firmware files should now exist in a folder called “backup”. You will need some of these files in the next steps.
Installing Magisk and gaining root
Copy boot_a.bin from your backup to the same folder. Run the following commands:
adb push boot_a.bin /sdcard/Download/
adb install Magisk-v26.1.apk
Now run Magisk, select Install, Select “Patch an image”, select the boot_a.bin from Downloads folder. After that, we pull the patched boot image back to our computer:
adb pull /sdcard/Download/magisk_patched-26100_uZdju.img boot.patched
Turn off your phone and connect it with an usb cable. Run:
python mtk.py da vbmeta 3
mtk w boot_a boot.patched
When booting the phone it will complain about dm-verity, just press the power button once again to boot your phone. Your phone should now be rooted! For the next steps you should go into Magisk settings and enable Zygisk.
Installing microG and fixing up SafetyNet for banking apps.
I chose to go with microG instead of Google Play for 3 reasons:
- The phone is not Google Play certified, so spoofing the model can cause issues.
- microG uses less battery and resources
- You can still use the real Play Store with microG if you want to (I use Aurora Store instead). Follow the instructions in the microG Installed Revived repository if you want to use Google Play Store.
Run the following commands:
adb push PlayIntegrityFix*.zip /sdcard/Download
adb push microG_Installer_Revived.zip /sdcard/Download
adb push LSPosed*.zip /sdcard/Download
adb install app-release.apk
adb install AuroraStore_4.3.1.apk
Install all 3 zips in the “Modules” tab of Magisk. After restarting phone, enable the FakeGapps module in LSPosed Settings (You can find it in your notifications). Restart your phone once again.
Open microG Settings, press Self-Check. Make sure all the checkboxes are checked! After that enable Google device registration, Cloud Messaging and Google SafetyNet. You’re done!
Debloating the phone
You can use Universal Android Debloater to debloat the phone.
The following can be safely uninstalled (Thanks, shuuryou!)
com.android.bluetoothmidiservice
com.android.browser
com.android.calendar
com.android.calllogbackup
com.android.contacts
com.android.deskclock
com.android.dialer
com.android.documentsui
com.android.dreams.basic
com.android.egg
com.android.gallery3d
com.android.mms
com.android.music
com.android.printservice.recommendation
com.android.quicksearchbox
com.android.sharedstoragebackup
com.android.simappdialog
com.android.soundrecorder
com.android.stk
com.android.traceur
com.android.wallpaperbackup
com.baidu.map.location
com.duoqin.ai
com.duoqin.app.guard
com.duoqin.duoqinaccount
com.duoqin.feedback
com.duoqin.guardapp
com.duoqin.inputmethod
com.duoqin.inputmethod.pinyin
com.duoqin.pinyin
com.duoqin.post
com.duoqin.remote
com.duoqin.remoteservice
com.duoqin.syncassistant
com.duoqin.translator
com.marsqin.chat
com.mediatek.callrecorder
com.mediatek.mdmconfig
com.mediatek.mdmlsample
com.sprd.sprdcalculator
com.wapi.wapicertmanager
Finishing up

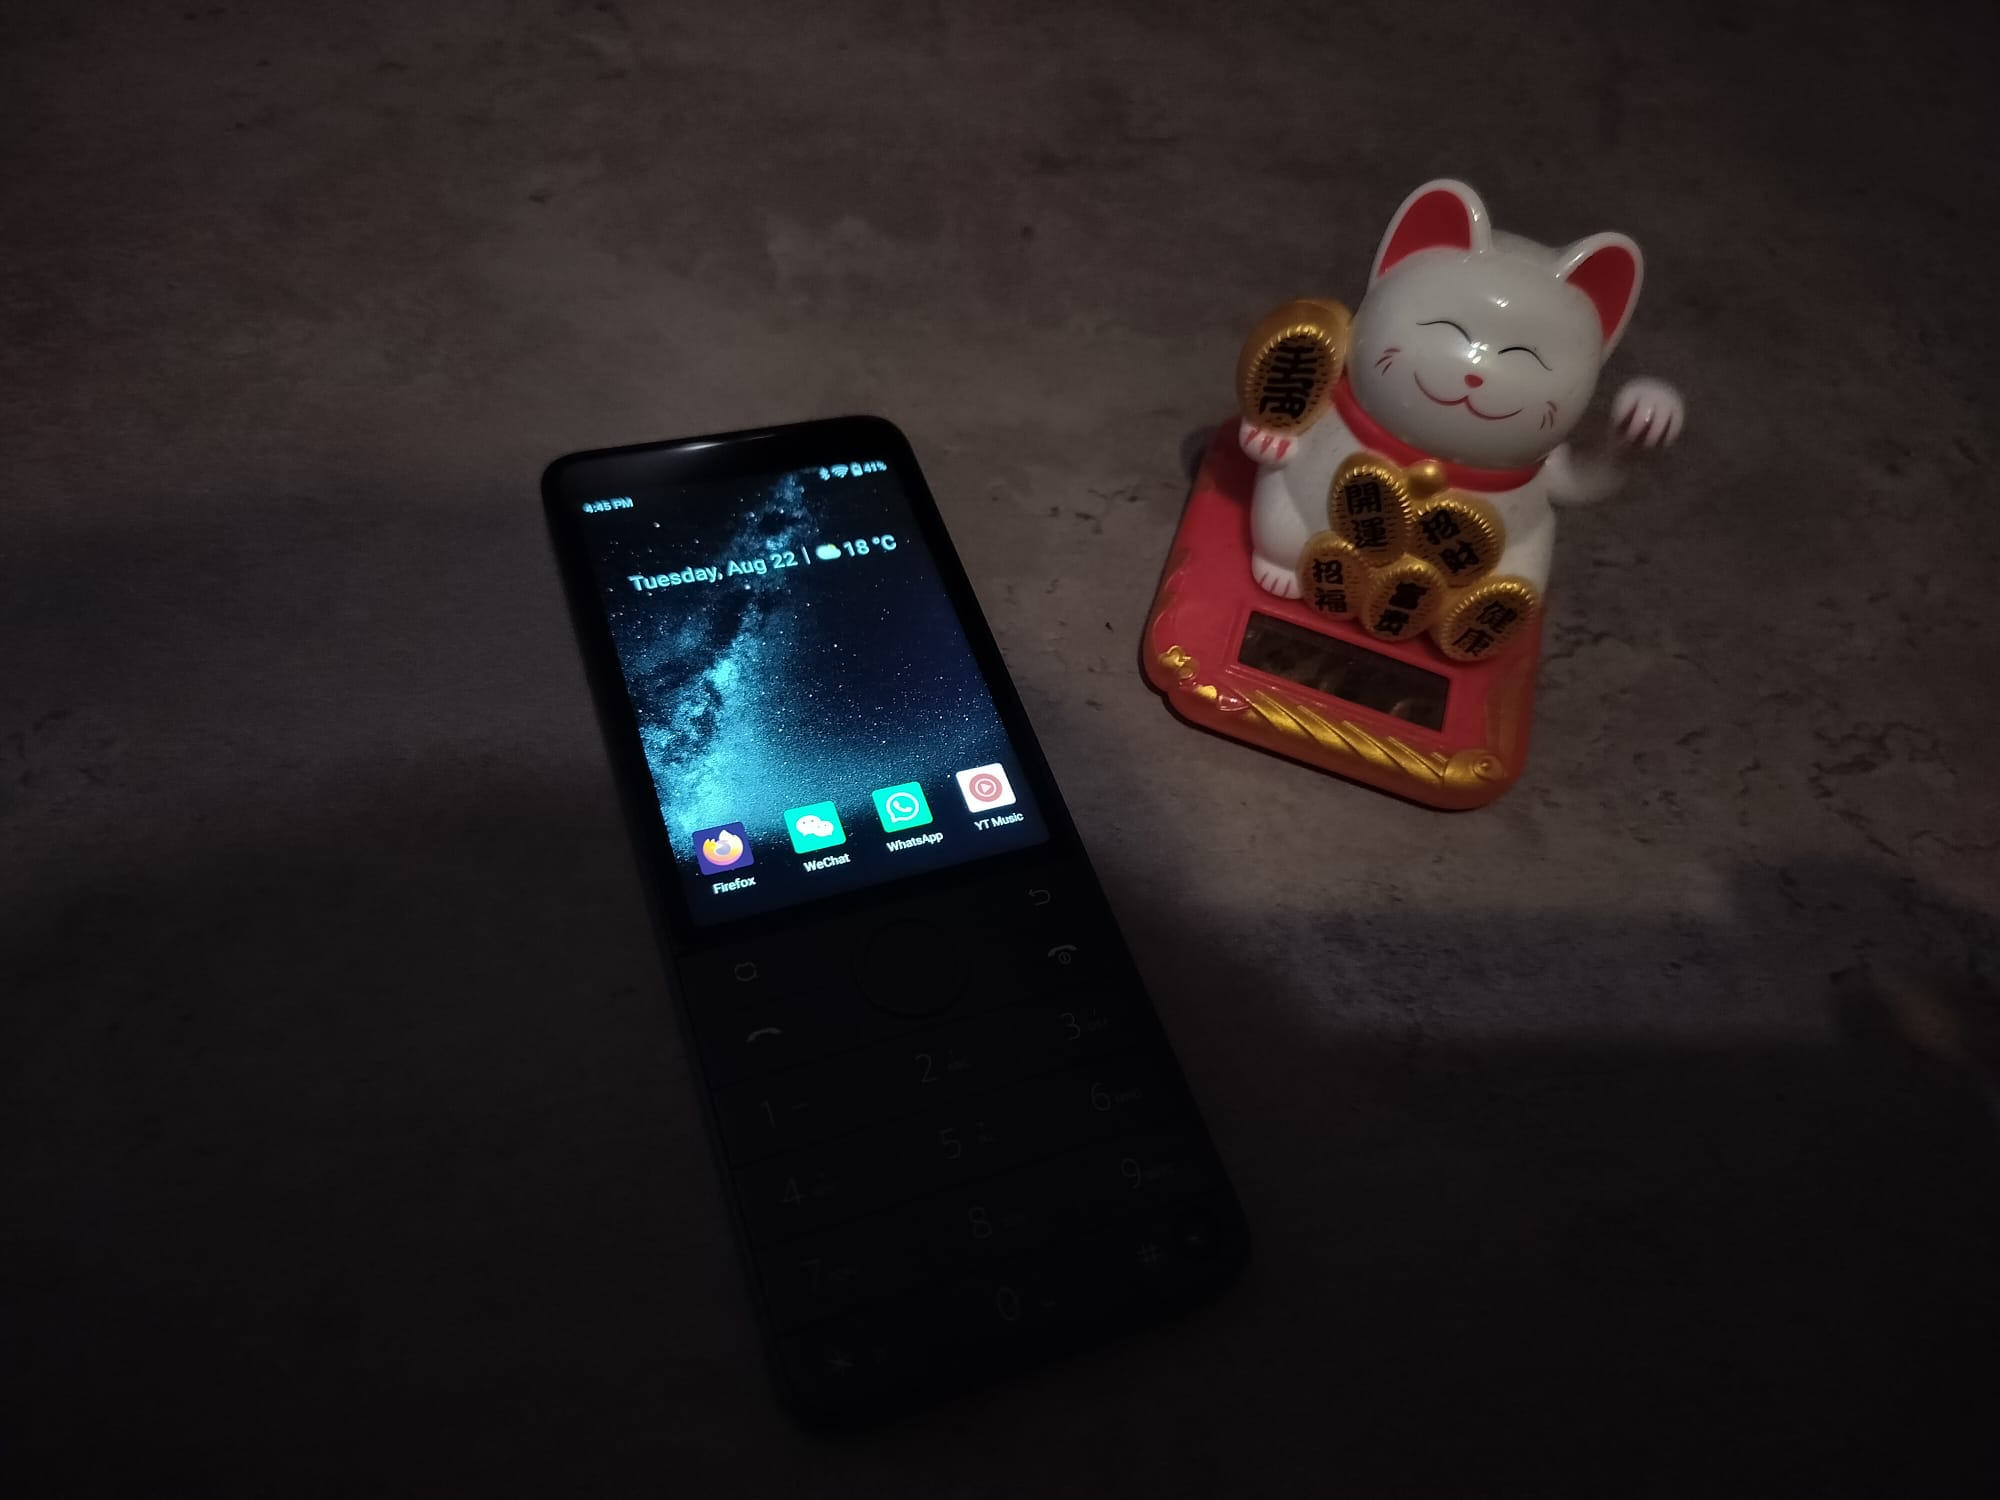
I personally replaced the stock launcher with Lawnchair 2 and browser with Firefox. The T9 keyboard in the phone was pretty terrible so I went ahead and installed Traditional T9.
I am finally done with customizing my phone and can finally do what I wanted to do the most: Use my phone less!